Charging a Portable Jump Starter: Essential Steps

In this article, we will discuss the essential steps for charging a portable jump starter. A portable jump starter is a handy device that allows you to jump-start your vehicle's battery without the need for another vehicle. Understanding the basics of a portable jump starter is crucial to ensure you charge it correctly and maintain its functionality.
We will also cover safety precautions, troubleshooting common charging issues, and maintaining your jump starter for long-lasting performance.
Understanding the Basics of a Portable Jump Starter
A portable jump starter is a compact and rechargeable battery pack specifically designed for jump-starting vehicles. It consists of a high-capacity lithium-ion battery that delivers a powerful surge of energy to start a vehicle with a dead battery. Portable jump starters usually come with built-in safety features such as reverse polarity protection, short circuit protection, and spark-proof technology to prevent accidents during the jump-start process.
What Is a Portable Jump Starter?
A portable jump starter is a standalone power source that provides the necessary voltage and current to start a vehicle with a discharged battery. It eliminates the need for another vehicle and jumper cables, making it convenient for emergencies or situations where assistance may not be readily available.
Importance of a Fully Charged Jump Starter
Ensuring your portable jump starter is fully charged is vital for its effectiveness when needed. A fully charged jump starter provides the maximum power output required to start your vehicle's engine. Regularly charging your jump starter helps maintain its battery life and guarantees it will be ready when you need it most.
But let's dive a little deeper into the inner workings of a portable jump starter. The high-capacity lithium-ion battery that powers these devices is not your average battery. It is designed to store a large amount of energy and deliver it in a short burst, providing the necessary kick to start your vehicle's engine. This technology has revolutionized the way we deal with dead batteries, offering a portable and efficient solution.
Furthermore, the built-in safety features of portable jump starters ensure that the jump-start process is as safe as possible. Reverse polarity protection, for example, prevents accidental damage to the jump starter or the vehicle's electrical system by alerting you if the cables are connected incorrectly. Short circuit protection safeguards against any electrical faults that may occur during the jump-start, while spark-proof technology eliminates the risk of sparks or fires that could potentially harm you or your vehicle.
Safety Precautions Before Charging
Before charging your portable jump starter, it is essential to take proper safety precautions to avoid hazards and damage. Follow these steps:
Preparing Your Workspace
Choose a well-ventilated area with a flat, stable surface to charge your jump starter. This will help ensure that the charging process goes smoothly and safely. Additionally, it is important to keep flammable materials away from the charging area. This includes items such as gasoline, oil, and any other substances that could potentially ignite or cause a fire. By maintaining a clear and clutter-free workspace, you minimize the risk of accidents and create a safer environment for charging your jump starter.
Furthermore, it is crucial to ensure that there are no open flames or sources of heat nearby. Heat sources can pose a significant danger when charging your jump starter, as they can potentially lead to overheating or even combustion. Therefore, it is important to keep your charging area free from any heat sources, such as candles, stoves, or heaters. By doing so, you reduce the risk of accidents and create a safer environment for charging your jump starter.
Handling the Jump Starter Safely
Before handling your jump starter, it is vital to ensure that it is powered off. This precautionary measure helps prevent any accidental activation or discharge of the jump starter's power.
Additionally, it is essential to take note of any specific instructions provided by the manufacturer regarding handling and charging. Manufacturers often provide valuable information and guidelines to ensure the safe and efficient use of their products. By following these instructions, you can minimize the risk of accidents and maximize the lifespan of your jump starter.
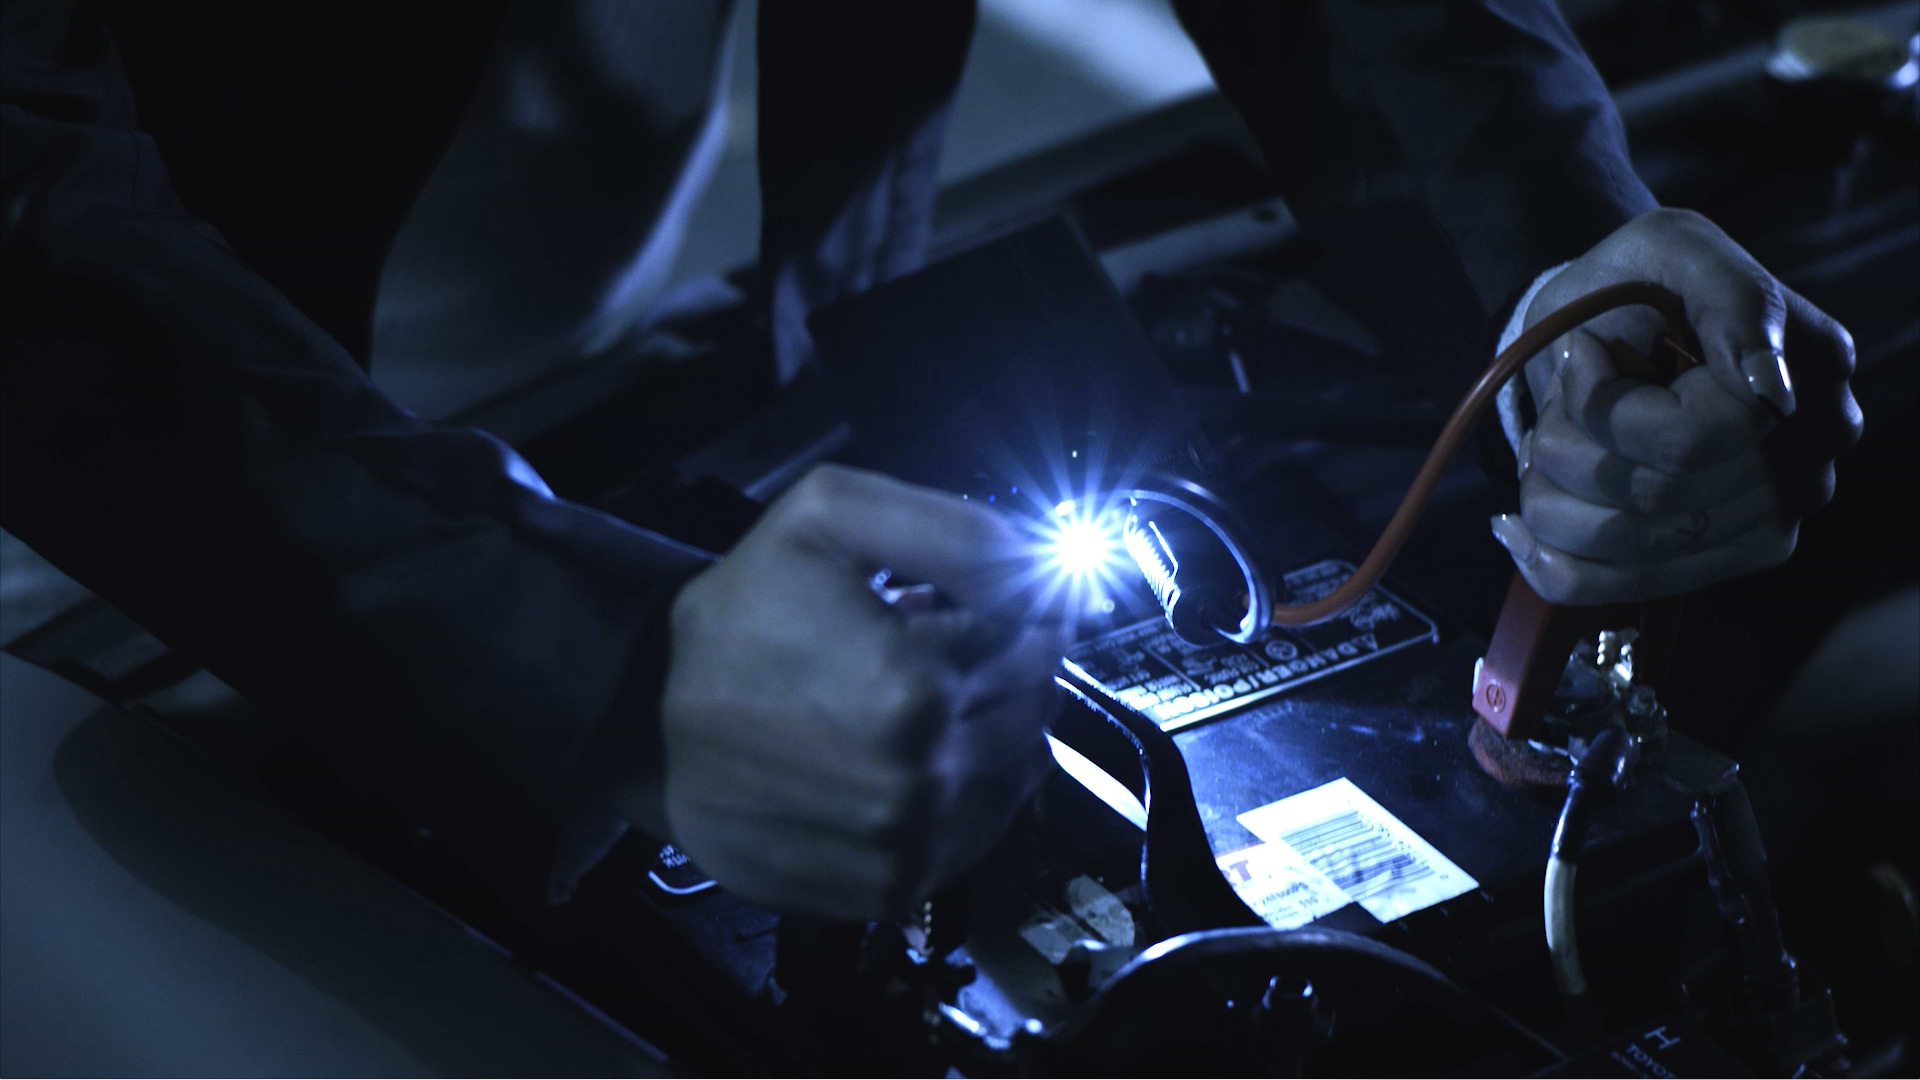
When connecting and disconnecting cables, it is crucial to exercise caution and pay attention to the positive and negative terminals. Accidental contact between these terminals can result in short circuits or electrical shocks. To avoid this, make sure to handle the cables carefully and ensure that they are securely connected without any loose ends. By taking these precautions, you can safely charge your jump starter without any unnecessary risks.
Step-by-Step Guide to Charging Your Jump Starter
Follow these step-by-step instructions to charge your jump starter safely and efficiently:
Checking the Battery Status
Before charging, it's important to check the battery status indicator on your jump starter. This small yet vital component provides valuable information about the charge level. If it indicates a low charge, it's time to proceed to the next step. On the other hand, if the indicator shows a fully charged battery, you may not need to charge it immediately. However, regular maintenance charging is still highly recommended to ensure optimal performance when you need it the most.
Connecting the Charger
Now that you've determined the need for charging, it's time to locate the charging port on your jump starter. This port is specifically designed to accommodate the charger included with the device. Take a moment to ensure a proper connection by aligning the charging cable correctly. A secure and snug connection is crucial for efficient charging. Once you've done this, it's time to plug the charger into a power outlet.
Monitoring the Charging Process
With the charger connected and properly plugged in, it's time to monitor the charging process. Many jump starters come equipped with an indicator light that shows the charging status. This small but informative light can provide peace of mind as you watch the progress. As you sit back and relax, leave the jump starter to charge for the recommended time provided by the manufacturer. This duration may vary depending on the model and battery capacity, so it's essential to consult the user manual for accurate information.
While your jump starter is charging, it's worth mentioning that it's always a good idea to keep an eye on the surroundings. Ensure that the charging area is well-ventilated and free from any potential hazards. Additionally, it's advisable to avoid charging the jump starter in extreme temperatures, as this can affect the charging process and overall battery life.
Remember, charging your jump starter properly is crucial for its longevity and performance. By following these simple steps and taking the necessary precautions, you can ensure that your jump starter is always ready to come to the rescue when you need it most.
Troubleshooting Common Charging Issues
Despite following the proper charging procedures, you may encounter some common charging issues with your jump starter. Here are a few troubleshooting tips to help you resolve them:
Jump Starter Not Charging
If your jump starter is not charging, ensure the charger is securely connected to both the jump starter and the power outlet. Check for any damage to the charging cable or ports. If the problem persists, contact the manufacturer for further assistance.
Overheating During Charging
If your jump starter becomes excessively hot during the charging process, disconnect the charger immediately. This could indicate a malfunction or an issue with the device. Allow the jump starter to cool down before attempting to charge it again, and contact the manufacturer for guidance if the problem persists.
While troubleshooting common charging issues is essential, it's also important to understand the underlying reasons behind these problems. One possible reason for a jump starter not charging could be a faulty power outlet. Ensure that the outlet you are using is functioning properly by plugging in another device and checking if it charges successfully. If the outlet is indeed faulty, consider using a different outlet or contacting a professional electrician to fix the issue.
Another factor that can contribute to charging problems is the presence of dust or debris in the charging ports. Over time, these tiny particles can accumulate and hinder the connection between the charger and the jump starter. To address this, use a can of compressed air or a soft brush to gently clean the charging ports. This simple maintenance step can often resolve charging issues and ensure a smooth and uninterrupted charging process.
Maintaining Your Portable Jump Starter
Proper maintenance of your portable jump starter ensures its longevity and reliable performance. Here are a few maintenance tips to keep in mind.
Regular Charging and Discharging
Even when not in use, it is essential to regularly charge and discharge your jump starter to maintain its battery health. Follow the manufacturer's recommendations for the optimal frequency of charging and discharging cycles to keep the battery in good condition.
Proper Storage and Cleaning
Store your jump starter in a cool and dry place away from direct sunlight or extreme temperatures. Avoid leaving it in your vehicle for an extended period, as extreme temperatures can affect the battery's performance. Additionally, clean the jump starter's exterior regularly using a soft, lint-free cloth to remove dust and debris.
Furthermore, it is important to keep your jump starter away from any corrosive materials or liquids. Exposure to substances such as gasoline, oil, or chemicals can damage the internal components and compromise its functionality. Always ensure that the jump starter is stored in a secure location, away from any potential hazards.
In addition to proper storage, it is crucial to inspect the jump starter regularly for any signs of wear or damage. Check the cables, clamps, and connectors for any fraying, cracks, or loose connections. If you notice any issues, it is recommended to have them repaired or replaced by a qualified professional to maintain the jump starter's performance and safety.
Conclusion
In conclusion, charging a portable jump starter correctly is crucial for consistent and reliable performance. By following the steps outlined in this article, you can ensure a safe and effective charging process. Remember to prioritize safety, troubleshoot any issues that may arise, and maintain your jump starter regularly for optimal functionality. With a fully charged jump starter at your disposal, you can confidently handle unexpected battery failures.