Troubleshooting: Portable Jump Starter Not Charging
Portable jump starters are essential tools for anyone who owns a vehicle. However, there may come a time when your jump starter fails to charge, leaving you stranded in a parking lot or on the side of the road. In this article, we will explore the common reasons why your jump starter is not charging and provide a step-by-step troubleshooting guide to help you get back on the road quickly and safely.
Understanding Your Portable Jump Starter
Before we dive into troubleshooting, it's essential to understand the key components of a portable jump starter and how it works. A typical jump starter consists of a battery pack, charger, cables, and various safety features. The battery pack stores energy that can be used to jump-start a vehicle, while the charger replenishes the battery's charge. Understanding these components will enable you to identify the root cause of the charging issue more effectively.
Key Components of a Portable Jump Starter
When troubleshooting your jump starter, it's important to familiarize yourself with its key components:
- Battery Pack: The heart of the jump starter, which stores electrical energy.
- Charger: The device responsible for recharging the battery pack.
- Cables: Used to connect the jump starter to your vehicle's battery.
- Safety Features: Built-in protection mechanisms to prevent overcharging and electrical hazards.
How a Portable Jump Starter Works
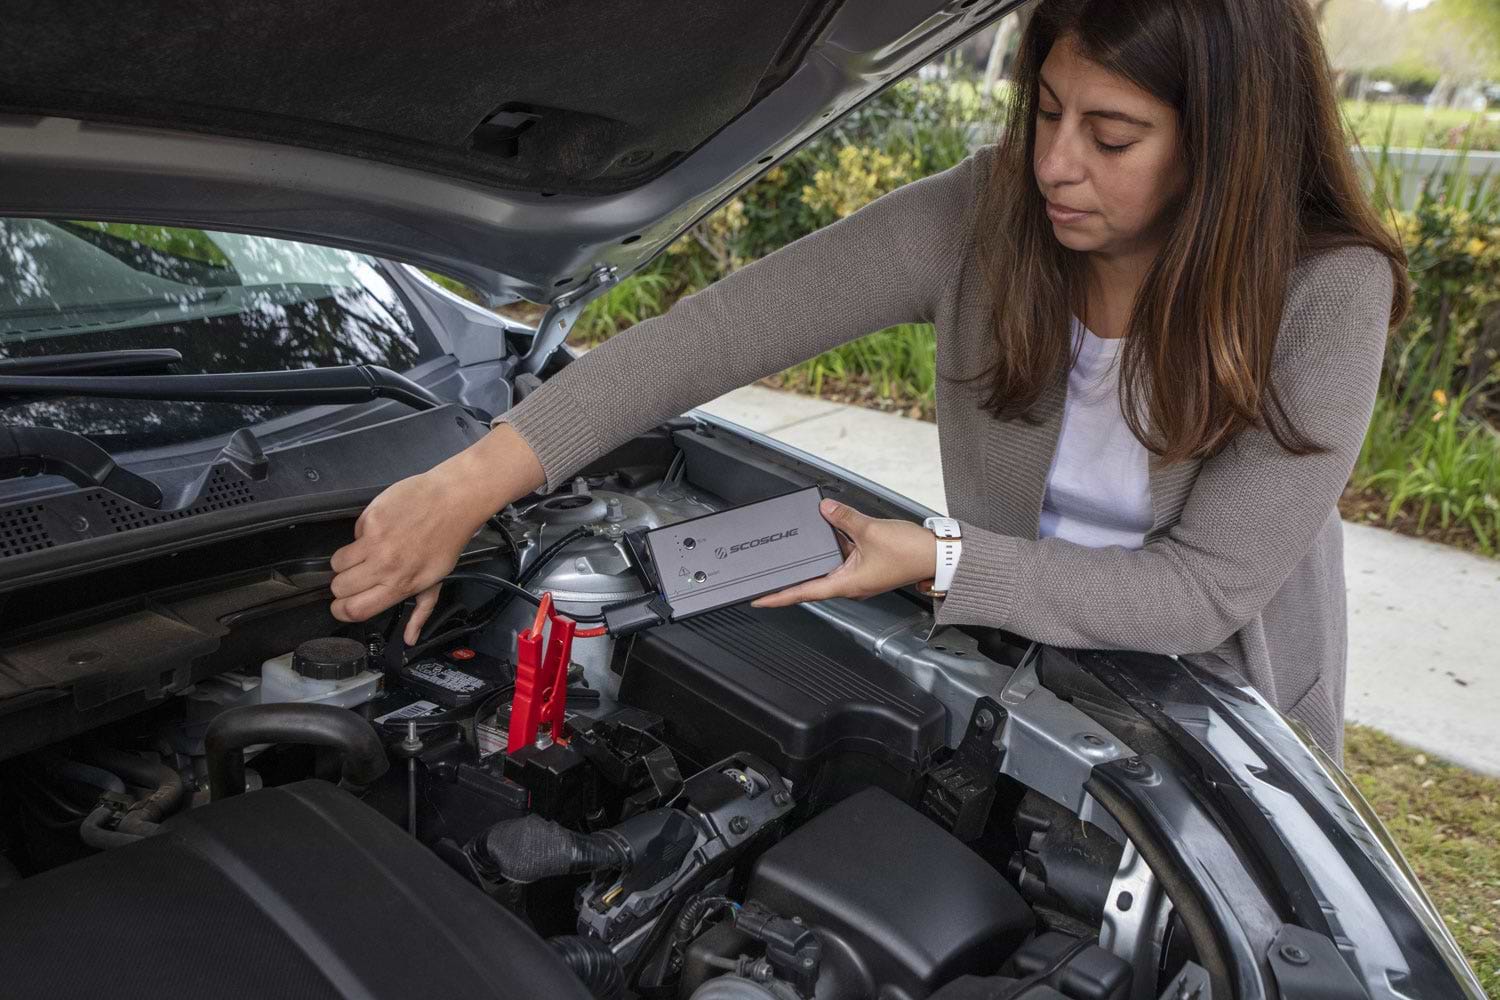
A portable jump starter works by harnessing the stored energy in its battery pack to deliver a high current of electricity to the dead battery of your vehicle. This surge of power is often enough to start the engine and get you back on the road. To ensure a successful jump start, it is crucial that the jump starter is properly charged and all connections are secure.
Now, let's delve deeper into the fascinating world of portable jump starters. Did you know that the battery pack in a jump starter is typically a lithium-ion battery? This type of battery is known for its high energy density and long lifespan. It allows the jump starter to store a significant amount of electrical energy in a compact and lightweight package, making it convenient for on-the-go use.
When it comes to the charger, most portable jump starters utilize a standard AC adapter that plugs into a wall outlet. This adapter converts the AC power from the outlet into DC power, which is then used to recharge the battery pack. Some jump starters also feature a built-in solar panel, allowing you to harness the power of the sun to charge your device, making it an eco-friendly option.
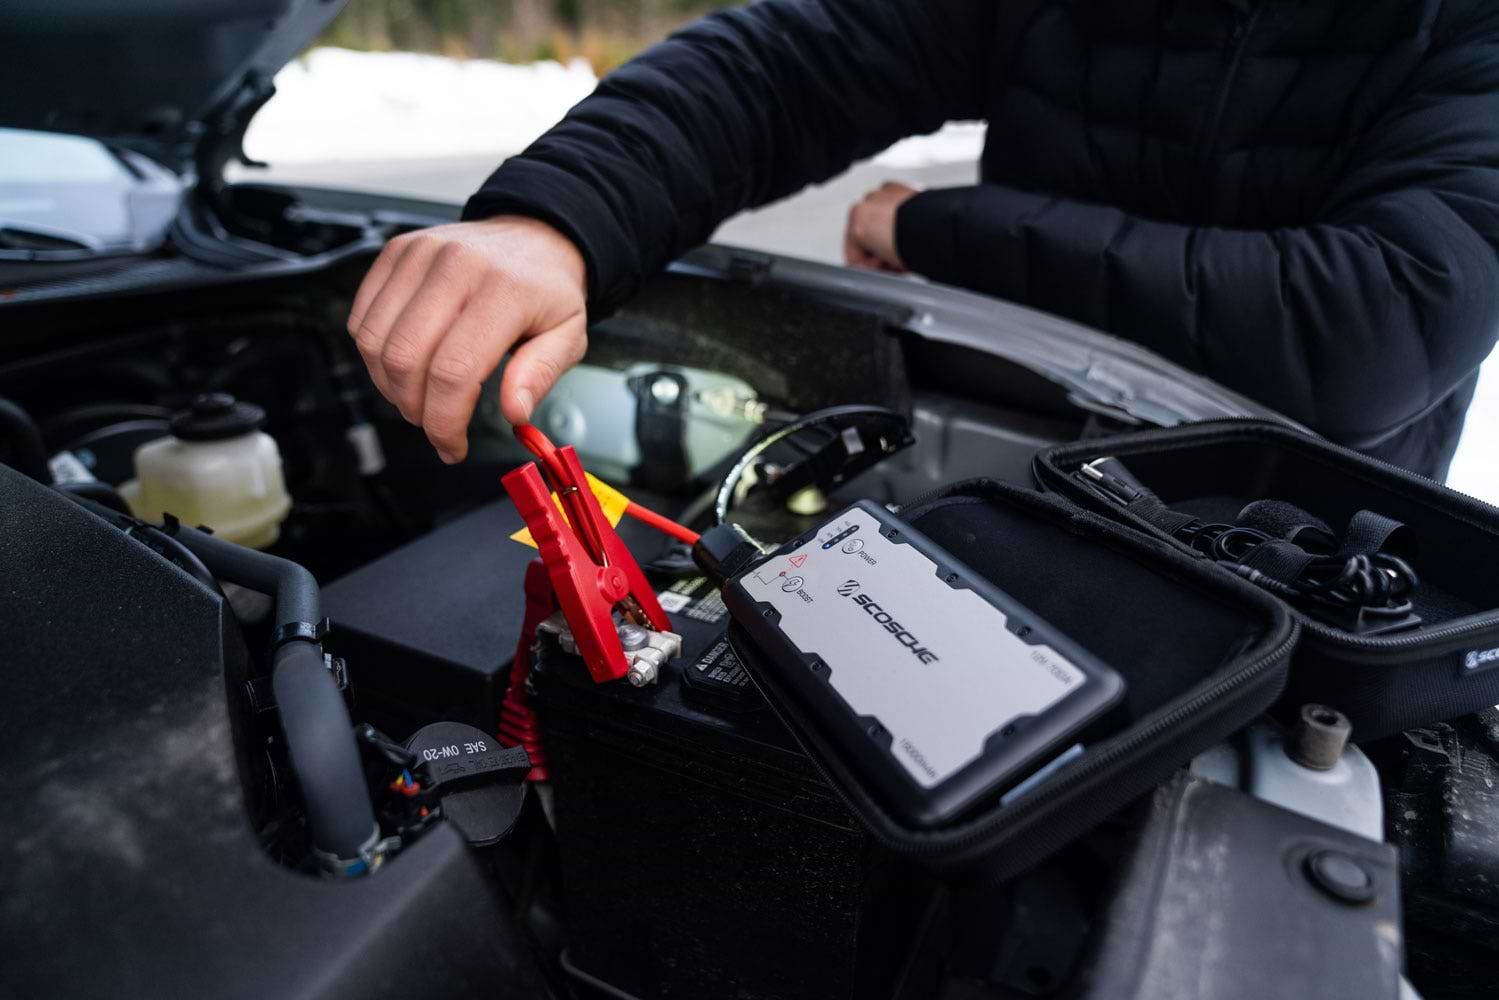
Now, let's talk about the cables. The cables included with a jump starter are typically heavy-duty and designed to handle high currents. They are equipped with clamps that securely attach to the battery terminals of your vehicle. These clamps ensure a strong and stable connection, allowing the jump starter to deliver the necessary power to start your engine.
Lastly, let's explore the safety features of a portable jump starter. These features are crucial for protecting both you and your vehicle from potential hazards. Common safety mechanisms include overcharge protection, short-circuit protection, and reverse polarity protection. These safeguards ensure that the jump starter operates safely and effectively, giving you peace of mind during the jump-starting process.
So, the next time you find yourself in need of a jump start, you'll have a better understanding of your portable jump starter and how it works. Remember to always follow the manufacturer's instructions and take the necessary precautions to ensure a successful jump start. Stay safe and happy travels!
Common Reasons Why Your Jump Starter Won't Charge
When your jump starter fails to charge, it's usually due to one of the following reasons:
Battery Issues
Over time, the battery pack in your jump starter may lose its ability to hold a charge. This can be caused by various factors such as age, frequent use, or improper maintenance. If your jump starter is not charging, it's worth checking the battery's voltage using a multimeter. A voltage reading significantly lower than the rated voltage suggests a battery issue.
When it comes to battery issues, it's important to note that jump starters typically use lithium-ion batteries, which are known for their high energy density and long lifespan. However, even these advanced batteries can experience degradation over time. If you find that your jump starter's battery is no longer holding a charge effectively, it may be time to consider replacing it with a new one.
Charger Problems
If your jump starter is connected to the charger but still not charging, there might be an issue with the charger itself. Inspect the charger for any damage or loose connections. Sometimes, a frayed cable or a bent pin can prevent the charger from delivering power to the jump starter. Additionally, try using a different power outlet or charger to rule out any potential issues.
It's worth mentioning that some jump starters come with advanced charging features, such as smart chargers that automatically adjust the charging current based on the battery's condition. If your jump starter has such a feature, make sure it is enabled and functioning properly. Sometimes, a simple setting adjustment can solve the charging problem.
Electrical Faults
Faulty electrical connections within the jump starter can also prevent it from charging. Inspect the cables and connectors for any signs of damage or corrosion. Over time, exposure to moisture, dirt, or other contaminants can cause the connectors to become corroded or lose their conductivity. Clean the terminals if necessary and ensure a secure connection between the jump starter and charger.
In addition to the cables and connectors, it's important to check the internal circuitry of the jump starter for any potential faults. A damaged circuit board or a blown fuse can disrupt the charging process. If you have the technical knowledge and skills, you may consider opening up the jump starter and inspecting its internal components. However, if you're not confident in your abilities, it's best to seek professional assistance to avoid further damage.
Step-by-Step Troubleshooting Guide
If your jump starter is still not charging after checking the common issues mentioned above, don't worry! We've got you covered with this comprehensive step-by-step troubleshooting guide that will help you get your jump starter up and running in no time.
Checking the Battery
1. Disconnect the jump starter from any power source and remove the battery cover. Take a moment to appreciate the sleek design and craftsmanship of your jump starter. It's a true testament to engineering excellence.
2. Using a multimeter, measure the voltage across the battery terminals. Remember, safety first! Make sure you're wearing protective gloves and eyewear while handling electrical equipment.
3. If the voltage is significantly lower than the rated voltage, it's likely that the battery pack needs replacement. Don't fret, though. Think of it as an opportunity to upgrade to a more powerful battery pack that will give your jump starter an extra boost.
4. If the battery voltage is within an acceptable range, ensure that all connections to the battery pack are secure and free from corrosion or damage. It's important to maintain a strong and reliable connection to ensure optimal performance.
5. If there are any loose connections, tighten them and try charging the jump starter again. Remember, a little bit of elbow grease can go a long way in solving electrical issues.
Inspecting the Charger
1. Disconnect the jump starter from any power source. Take a moment to appreciate the convenience of a portable jump starter that allows you to take charge of any situation, quite literally.
2. Check the charger for any visible damage or loose connections. Sometimes, a simple visual inspection can reveal the root cause of the problem. Don't underestimate the power of observation!
3. Use a different power outlet or charger to rule out any potential issues with the original charger. Sometimes, it's not you, it's the charger. Give it a break and try a different one.
4. Connect the jump starter to the new charger and observe if it starts charging. Keep an eye out for that satisfying moment when the charging indicator lights up, indicating that your jump starter is back in action.
Identifying Electrical Faults
1. Disconnect the jump starter from any power source. Safety first! Remember to always prioritize your well-being while troubleshooting electrical faults.
2. Inspect the cables and connectors for any signs of damage or corrosion. It's like giving your jump starter a mini spa treatment. Clean and well-maintained cables and connectors are the key to a healthy electrical system.
3. Clean the terminals if necessary using a wire brush or contact cleaner. Think of it as giving your jump starter a fresh start, wiping away any dirt or grime that might be hindering its performance.
4. Ensure a secure connection between the jump starter and charger. A loose connection can be the culprit behind a non-charging jump starter. Tighten those connections and watch the magic happen.
5. If there are any damaged cables or connectors, consider replacing them with compatible parts. It's like giving your jump starter a makeover, ensuring that it looks as good as it performs.
Remember, troubleshooting is an art that requires patience and perseverance. By following this step-by-step guide, you're well on your way to resolving any charging issues with your jump starter. Stay confident, stay determined, and soon enough, your jump starter will be ready to jump into action whenever you need it!
Safety Precautions When Troubleshooting
While troubleshooting your jump starter, it's important to take necessary safety precautions:
Handling the Battery Safely
Always disconnect the jump starter from any power source before handling the battery. Exercise caution when removing the battery cover and avoid short-circuiting the terminals. Dispose of old batteries following local regulations.
Avoiding Electrical Hazards
When inspecting your jump starter for electrical faults, do not touch any exposed wires or connectors while the jump starter is connected to a power source. Keep your hands and tools dry to avoid electrical shocks. If you are unsure or uncomfortable working with electricity, consider seeking professional help.
When to Seek Professional Help
If you have followed the troubleshooting guide and your jump starter still fails to charge, it's time to seek professional assistance.
Persistent Charging Issues
If you have repeated issues with charging your jump starter, despite trying different chargers and outlets, there may be an underlying problem with the jump starter itself. It is recommended to contact the manufacturer or a qualified technician for further diagnosis and repair.
Signs of Serious Electrical Problems
If you observe any signs of serious electrical problems during the troubleshooting process, such as burning smells, sparking, or overheating, immediately disconnect the jump starter from any power source and contact a professional. These symptoms indicate potential safety hazards that should not be ignored.
In conclusion, troubleshooting a portable jump starter that is not charging requires a systematic approach. Understanding the key components of a jump starter and the common reasons for charging issues is crucial. By following a step-by-step troubleshooting guide and taking necessary safety precautions, you can identify and resolve the problem. However, if charging issues persist or you encounter signs of serious electrical problems, it is advised to seek professional help to ensure your safety and the proper functioning of your jump starter.