Portable Jump Starter: Troubleshooting Guide
In this guide, we will explore various troubleshooting tips to help you get your portable jump starter up and running again. Whether you're a frequent road-tripper or just looking to be prepared for unexpected breakdowns, understanding how to troubleshoot common issues with your jumpstarter is essential.
We will cover everything from understanding the key features and safety precautions to addressing battery-related problems, connection difficulties, and power output concerns. Additionally, we will provide you with a step-by-step troubleshooting guide and some handy maintenance tips to keep your jump starter in top-notch condition.
So let's dive in and get you back on the road!
Understanding Your Portable Jump Starter
Before we begin troubleshooting, it's important to have a clear understanding of how your portable jump starter works. These compact devices are designed to provide a power boost to your vehicle's battery when it's unable to start on its own. They typically come equipped with a battery pack, jumper cables, and various safety features.
Portable jump starters have become an essential tool for every car owner. Gone are the days when you had to rely on the help of a stranger or wait for roadside assistance to arrive. With a portable jump starter, you can take matters into your own hands and get your vehicle up and running in no time.
Key Features of a Portable Jump Starter
Let's start by familiarizing ourselves with the essential features of a portable jump starter:
- Battery Pack: This is the heart of your jump starter and provides the necessary power to jump-start your vehicle. The battery pack is usually compact and lightweight, making it easy to carry around.
- Jumper Cables: These are the cables that connect your jump starter to your vehicle's battery. Make sure they are securely connected. The cables are typically color-coded, with red indicating the positive terminal and black indicating the negative terminal.
- LED Display: Many jump starters come with an LED display that shows the battery level and other important information. This feature allows you to easily monitor the status of your jump starter and ensure that it's ready for use.
- USB Ports: Some jump starters also include USB ports for charging mobile devices. This additional functionality makes the jump starter a versatile tool that can come in handy during emergencies or outdoor activities.
- Built-in Safety Features: Look for features like reverse polarity protection and overload protection to ensure safe and hassle-free usage. These safety features provide peace of mind and protect both you and your vehicle from any potential risks.
- When choosing a portable jump starter, it's important to consider your specific needs and the requirements of your vehicle. Make sure to check the compatibility of the jump starter with your vehicle's battery type and size.
Safety Precautions for Using a Jump Starter
As with any electrical device, it's important to follow safety precautions when using a jump starter. Here are a few guidelines to keep in mind:
- Read the User Manual: Always read and thoroughly understand the user manual before using your jump starter. The manual provides important instructions and safety guidelines specific to your jump starter model.
- Wear Protective Gear: Consider wearing gloves and safety glasses to protect yourself from potential sparks or acid leaks from the battery. Safety should always be a top priority when working with any automotive battery.
- Keep the Area Well-Ventilated: Perform jump-starting in a well-ventilated area to avoid inhaling any toxic gasses that may be released during the process. Carbon monoxide and hydrogen gasses can be present, especially if the vehicle's battery is severely discharged.
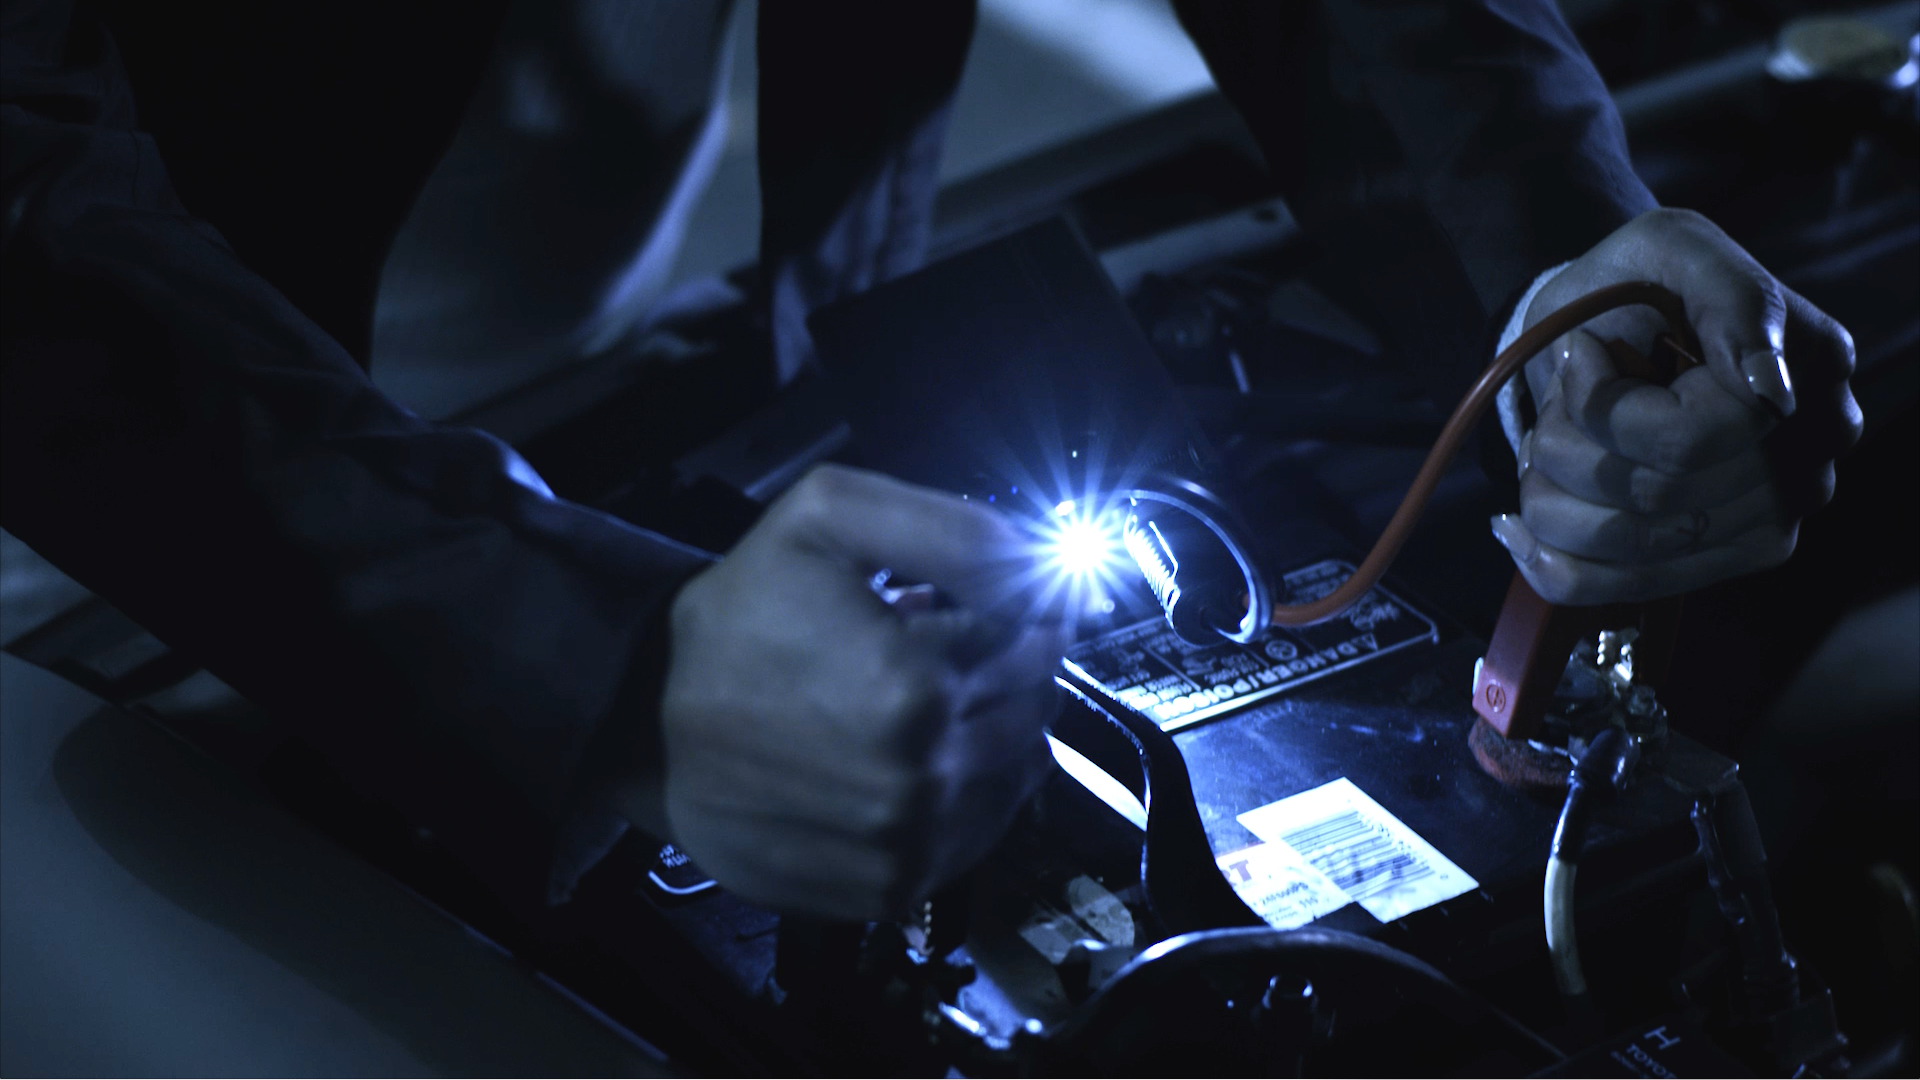
- Be Mindful of Connections: Ensure that the red cable is connected to the positive terminal of the dead battery, and the black cable is connected to a metal part of the vehicle with the dead battery. Making the wrong connections can result in damage to the jump starter or even personal injury.
- Avoid Smoking or Open Flames: Keep any open flames or sparks away from the jump starting area to prevent possible explosions. The gasses emitted by the battery can be highly flammable, so it's crucial to exercise caution.
By following these safety precautions, you can confidently use your portable jump starter and tackle any unexpected battery issues that may arise. Remember, it's always better to be prepared and self-reliant when it comes to your vehicle's battery.

Common Issues With Portable Jump Starters
Now that you have a good grasp of the key features and safety precautions, let's delve into the common issues that can arise with portable jump starters. Understanding these issues will help you identify and resolve problems more effectively.
Battery-Related Problems
One of the most common issues is an exhausted or faulty battery. If your jump starter fails to provide the necessary power to start your vehicle, it may be due to a battery problem. Here are a few possible scenarios:
- The battery is fully drained: If your jump starter has been discharged for an extended period, the battery may need to be recharged before it can provide a sufficient power boost.
- The battery is faulty: Over time, jump starter batteries can degrade or become faulty. In such cases, replacing the battery may be necessary.
- Internal battery damage: In rare cases, the battery inside the jump starter may be damaged, leading to a decrease in performance. This can be caused by factors such as extreme temperatures or physical impact.
- Compatibility issues: Some jump starters are designed to work with specific types of batteries. Using a jump starter with an incompatible battery can result in poor performance or even damage to the jump starter.
Connection Difficulties
Another common issue is difficulty in establishing a solid connection between the jump starter and your vehicle's battery. Here are some potential causes and solutions:
- Loose connections: Ensure that the jumper cables are securely connected to both the jump starter and the battery terminals. Loose connections can prevent the transfer of power.
- Corroded terminals: Corrosion can interfere with a solid electrical connection. Clean the battery terminals using a terminal cleaner or a mixture of baking soda and water.
- Incorrect polarity: Connecting the jumper cables in the wrong order can result in a failed jump start or even damage to the electrical system. Always double-check the correct polarity before connecting the cables.
- Damaged cables: Over time, the jumper cables can become worn or damaged, affecting their ability to conduct electricity. Inspect the cables for any signs of fraying or exposed wires and replace them if necessary.
Power Output Concerns
If your jump starter successfully connects to the vehicle's battery but fails to deliver enough power to start the engine, here are a few factors to consider:
- Insufficient charge: Ensure that your jump starter is adequately charged before attempting to jump-start your vehicle. Some jump starters have built-in indicators or digital displays that show the current charge level.
- Incompatible with vehicle requirements: Some jump starters may not be powerful enough to start certain vehicles. Check the specifications of your jump starter to ensure compatibility with your vehicle's engine size and power requirements.
- High electrical load: In some cases, the power requirements of the vehicle's electrical system may be too high for the jump starter to handle. This can be due to accessories such as high-powered sound systems or aftermarket modifications. In such cases, it may be necessary to use a more powerful jump starter or seek professional assistance.
- Internal component issues: Occasionally, internal components of the jump starter can malfunction or become damaged, leading to a decrease in power output. This can be caused by factors such as manufacturing defects or excessive heat. If you suspect internal component issues, it is recommended to contact the manufacturer for further assistance.
Step-by-Step Troubleshooting Guide
Now that we have covered the common issues, let's move on to a step-by-step troubleshooting guide that will help you identify and resolve problems with your portable jump starter.
Identifying the Problem
The first step in troubleshooting is identifying the root cause of the problem. Here are some steps to follow:
- Check the battery level: Make sure your jump starter has sufficient charge. Refer to the LED display to determine the battery level.
- Inspect the connections: Ensure that the jumper cables are securely connected to the correct terminals.
- Verify the vehicle's battery condition: If possible, test the battery voltage to determine if it's the cause of the problem.
Solving Battery Issues
If you suspect that the battery itself is the issue, here are a few steps to troubleshoot:
- Recharge the jump starter: Connect your jump starter to a power source and allow it to charge. Refer to the user manual for recommended charging times.
- Replace the battery: If recharging doesn't solve the problem, consider replacing the battery. Contact the manufacturer or refer to the user manual for guidance on obtaining a replacement battery.
Addressing Connection Problems
If you're experiencing issues with the connection between the jump starter and the vehicle's battery, follow these steps to troubleshoot:
- Ensure secure connections: Double-check that the jumper cables are securely connected to both the jump starter and the battery terminals.
- Clean the battery terminals: If corrosion is present, clean the battery terminals using a terminal cleaner or a mixture of baking soda and water.
Rectifying Power Output Issues
If your jump starter is properly connected but fails to deliver enough power, consider these troubleshooting steps:
- Charge the jump starter: Make sure your jump starter is fully charged before attempting to jump-start your vehicle.
- Check compatibility: Verify that your jump starter is compatible with the voltage requirements of your vehicle.
Maintenance Tips for Your Portable Jump Starter
To ensure the longevity and reliability of your jump starter, regular maintenance is essential. Here are a few tips to keep in mind:
Regular Inspection and Cleaning
Perform regular inspections to ensure that your jump starter is in proper working condition. Pay attention to any loose connections or signs of damage. Additionally, keep the jump starter and jumper cables clean to prevent corrosion.
Proper Storage and Handling
When not in use, store your jump starter in a cool and dry place. Extreme temperatures can affect the performance of the battery. Avoid dropping or mishandling the jump starter, as this can damage the internal components.
When to Seek Professional Help
If you've followed our troubleshooting guide but are still experiencing issues with your jump starter, it may be time to seek professional assistance. Contact the manufacturer or a qualified technician who can diagnose and repair any complex issues.
In conclusion, understanding your portable jump starter, its key features, and safety precautions is crucial for troubleshooting common issues. By following our step-by-step troubleshooting guide and implementing regular maintenance, you can ensure that your jump starter is always ready to provide a swift and reliable power boost when you need it most.